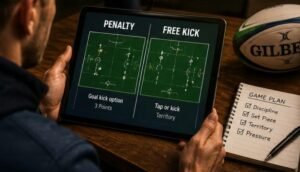
Mastering The Field With Rugby Positions And Numbers Explained
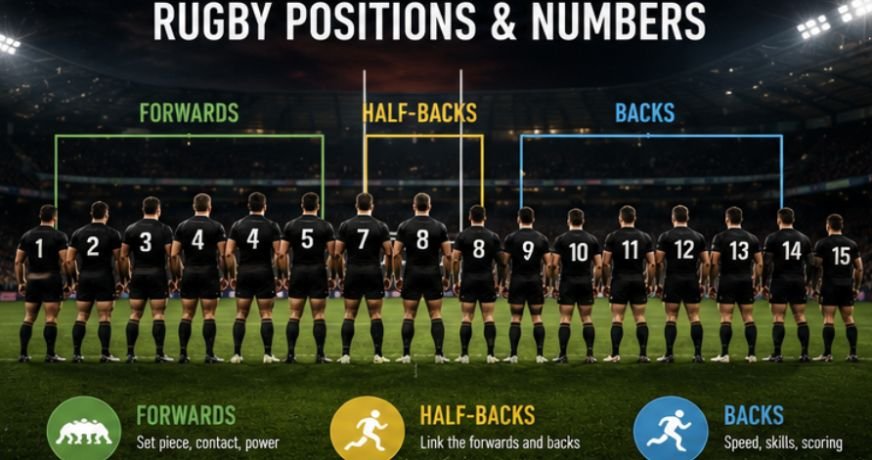
Lacing up your cleats or turning on a match for the first time can feel overwhelming when seeing fifteen players running around in numbered jerseys. Getting rugby positions and numbers explained makes watching or playing the game far easier to follow from the very first whistle.
Key Takeaways
- Numbers 1 through 8 form the heavy-duty forward pack that dominates scrums, lineouts, and physical breakdown battles.
- Numbers 9 through 15 are the dynamic backs who utilize rapid passing, top-end speed, and strategic kicking to score tries.
- Player shirt numbers reflect specific tactical roles rather than personal preference, standardizing field organization across every team.
- Drawing parallels to familiar American Football roles simplifies positional responsibilities for new coaches, players, and casual fans.
- Substitutes wearing numbers 16 through 23 act as strategic finishers who maintain momentum and replace exhausted starters late in matches.
The Forwards (Numbers 1–8)
The forward pack consists of eight heavy-duty physical specialists who fight for ball possession during high-impact set pieces and breakdown collisions.
The Front Row Anchors
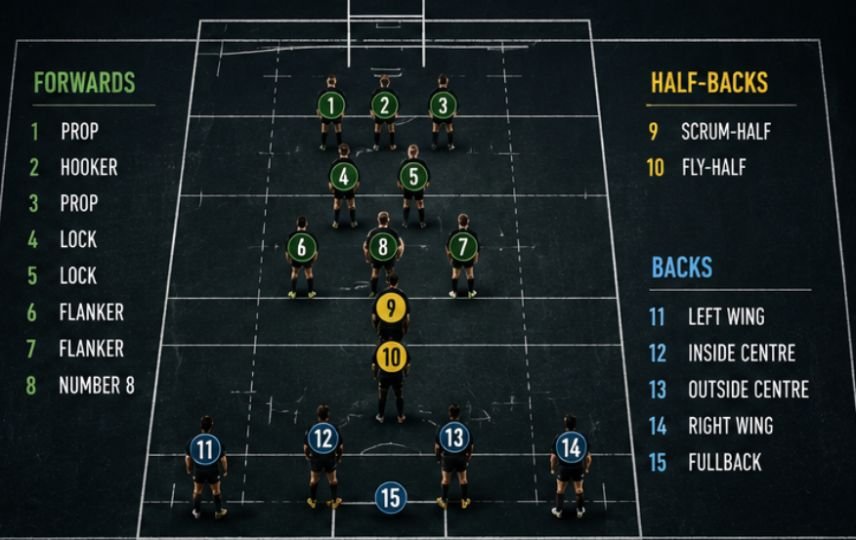
Jersey numbers 1, 2, and 3 pack down at the absolute front of every physical scrum. Number 1 is the loosehead prop, anchoring the left side while lifting lineout jumpers. Number 2 is the hooker, who hooks scrum balls backward with their feet and throws precise lineout passes. Number 3 is the tighthead prop, absorbing tremendous physical torque to keep the scrum stable.
The Second Row Towers
Numbers 4 and 5 are known as locks or the second row of the engine room. These players are typically the tallest athletes on the squad, providing massive pushing power inside scrums. Locks serve as the primary targets for aerial lineout catches while making constant heavy tackles across open play.
The Dynamic Back Row
Numbers 6, 7, and 8 complete the forward unit and provide incredible open-field mobility. Number 6 is the blindside flanker, playing on the narrower side to crush attackers with physical tackles. Number 7 is the openside flanker, roaming the wide side to steal breakdown ball turnovers. Number 8 controls the back of the scrum and carries the ball forward into thick traffic.
The Backs (Numbers 9–15)
The backline utilizes open space, rapid ball distribution, tactical kicking, and electric acceleration to turn earned possession into try-line scores.
The Halfback Tactical Core
Numbers 9 and 10 form the crucial link between physical forwards and fast backline runners. Number 9 is the scrum-half, who digs balls out of rucks and directs teammates like a basketball point guard. Number 10 is the fly-half, acting as the team field general who calls tactical plays, executes passes, and kicks for spatial territory.
The Midfield Contact Zone
Numbers 12 and 13 line up right outside the fly-half to form a powerful midfield partnership. Number 12 is the inside center, charging hard into contact as a crash-ball runner or second playmaker. Number 13 is the outside center, using footwork to slice through defensive gaps and setting up outside wingers.
The Back Three Speedsters
Numbers 11, 14, and 15 defend the backfield and unleash elite top speed during counterattacks. Numbers 11 and 14 are the left and right wingers, tasked with finishing scoring chances along the sidelines.
Understanding how to score points in rugby helps these players recognize when to finish a try, support a break, or position themselves for a conversion opportunity. Number 15 is the fullback, acting as the final defensive safety while fielding high opponent kicks.
Gridiron Similarities
Relating rugby roles to familiar gridiron concepts helps North American fans grasp rugby union positional responsibilities instantly.
Linemen Versus The Front Five
Props and locks encounter intense physical contact at the line of scrimmage, similar to offensive and defensive linemen. They focus on winning physical space, driving forward, and creating clean ball options for their dynamic teammates. Without their relentless dirty work upfront, speed players never get clean opportunities to run.
Linebackers Versus Loose Forwards
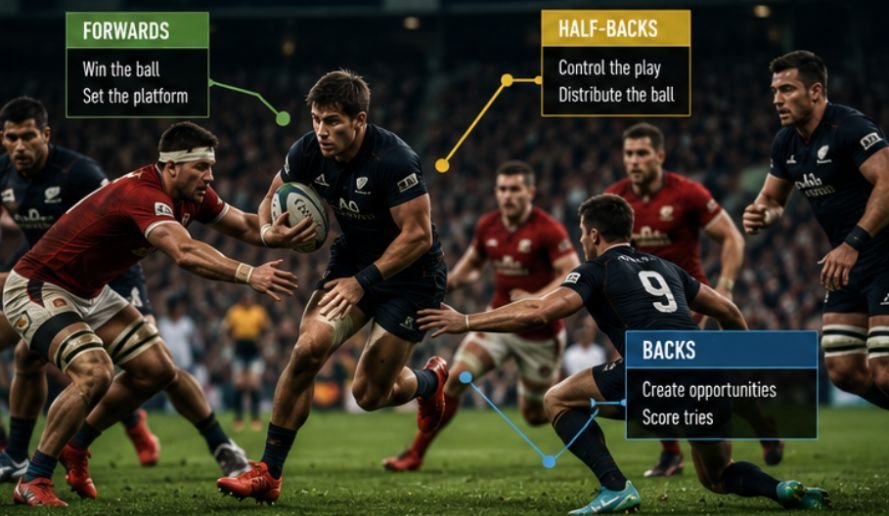
Flankers and number 8s match the versatile athleticism and tackle output expected from high-level linebackers. They pursue ball-carriers across the entire pitch, slow down opponent attacks, and force key turnovers.
Learning how to jackal in rugby union helps loose forwards contest possession legally at the breakdown and turn strong defensive tackles into valuable attacking opportunities. Their balance of physical strength and cardiovascular endurance makes them impact players on every drive.
Their balance of physical strength and cardiovascular endurance makes them impact players on every drive.
Quarterbacks And Skill Positions
The scrum-half and fly-half direct the offense like a quarterback distributing handoffs or throwing precision passes. Centers run physical collision angles like tight ends or big slot receivers attacking middle gaps. Wingers sprint down edges like vertical deep-threat wideouts, while the fullback fields kicks like an elite punt returner.
Format Variations
Adjusting team size changes how these fundamental positional duties are distributed across the pitch.
Rugby Sevens Fast Setup
Rugby Sevens places only seven athletes per team on the exact same full-sized pitch. The lineup features three forwards (numbers 1 to 3) and four backs (numbers 4 to 7). Every single player must possess exceptional running stamina, clean handling skills, and sound tackling technique due to massive open space.
Rugby League Differences
Rugby League fields thirteen players per side and eliminates contested lineouts or rucks. Flankers are completely removed, and teams restart play with a quick foot-heel back after every tackle. The resulting gameplay is fast, continuous, and heavily emphasizes explosive physical collisions over complex set-piece tactics.
Finding Your Ideal Pitch Fit
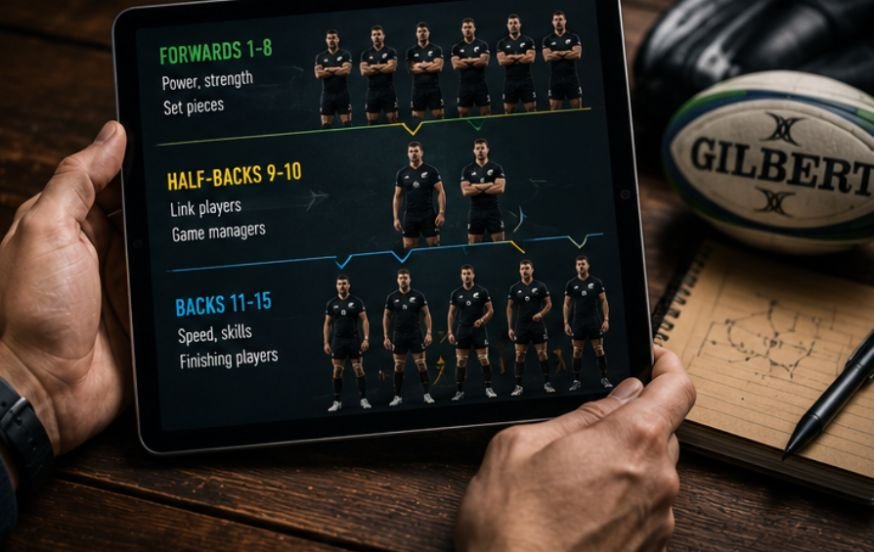
Applying rugby positions and numbers explained to your own training helps you discover where your skill set thrives.
Evaluate your overall frame, stamina, and physiological comfort level during high-impact tackle situations. Heavy, powerful athletes who enjoy pushing in dense crowds fit naturally into front-row or lock roles. Highly athletic players with huge work engines make ideal flankers or number 8 ball-carriers.
Assess your foot speed, hand-eye coordination, passing accuracy, and tactical decision-making ability under pressure. Agile sprinters belong on the wings where they can exploit open sideline grass to score tries. Strong communicators with great vision naturally step into scrum-half or fly-half playmaking duties.
Test various roles during active scrimmages to see where your natural instincts come alive. Rotating through contact drills, passing grids, and defensive tracking exercises clarifies your ideal field assignment. Developing multi-positional flexibility makes you an incredibly valuable asset to any matchday squad.
Frequently Asked Questions
1. What are the hardest positions in rugby?
Tighthead prop (number 3) and fly-half (number 10) are widely considered the hardest positions. Tighthead endures extreme physical torque during scrums, while fly-half carries heavy playmaking pressure on every single offensive possession.
2. Why is number 10 special in rugby?
Number 10 is the fly-half who controls the team’s entire offensive strategy. They call tactical plays, distribute passes to backline runners, kick for territorial gain, and handle pressure goal-kicking shots.
3. What does 23 mean in rugby?
Number 23 represents the final substitute shirt on a standard matchday roster. It belongs to a flexible bench player who enters the match late to cover wide backline positions like wing or fullback.
4. What’s the easiest position in rugby?
No role is easy, but winger (numbers 11 and 14) is often considered the most beginner-friendly. Wingers focus primarily on maintaining wide alignment, finishing open scoring chances, making sideline tackles, and catching high kicks.
Game On! Dominate The Pitch With Rugby Positions And Numbers Explained
Having rugby positions and numbers explained transforms your complete understanding of this amazing game. From front-row scrum battles to lightning-fast winger finishes out wide, every jersey number serves a distinct tactical goal. Find your ideal position, lace up your boots, and step onto the field with absolute confidence!